Please note:
I bought the Copper Spur tent myself. Since I am now reviewing it so prominently here, this may also be advertising. And: I have the 2020/21 model. There is now a newer one with a few improvements.When I look at my tent history, it’s easy to understand the development of tents: in the beginning I had a tent for 25 DM from a Karstadt store. Today they are called festival tents and are usually broken afterwards. Mine also broke quite quickly, but lasted a few tours before the poles broke in a thunderstorm and the material ripped.
Then I was able to invest a bit more money and bought a Vaude Space II. That was my absolute favourite at the time: freestanding, for two people and rather light with 3.5kg. This tent has accompanied Stephan and me on many cycle tours, survived snowstorms in the Himalayas, withstood scorpions in the Syrian desert and crossed the Sahara with me.
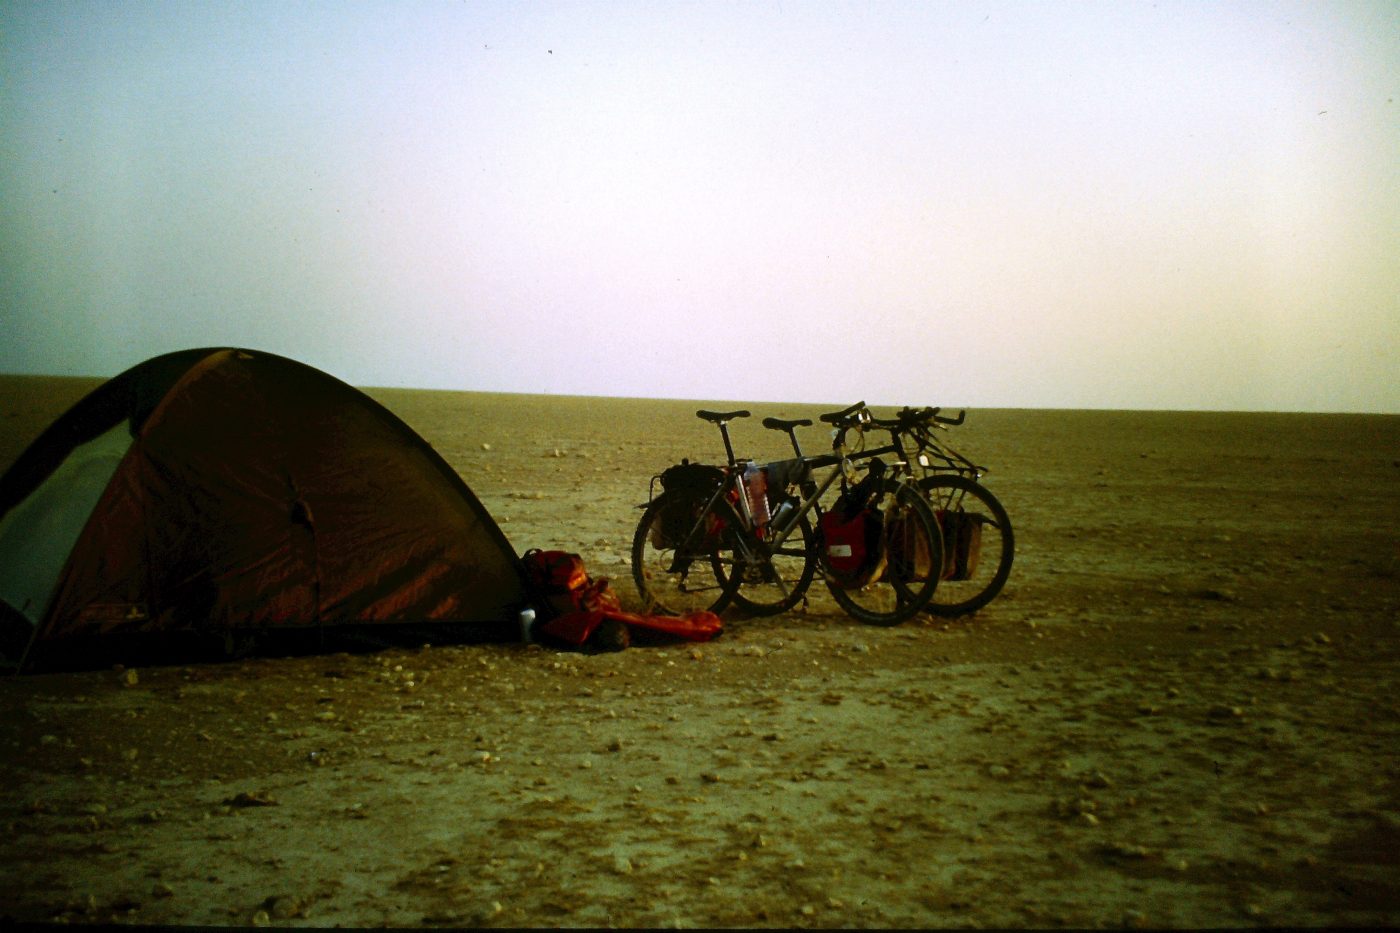
Unfortunately, the first Space II was broken after our tour from Leipzig to Mumbai. The sun had decomposed the fabric and the termites that had eaten the floor in Nepal were just too much.
I then bought the same model again and travelled with it to West Africa, the Baltic States, Vietnam and wintry Norway.

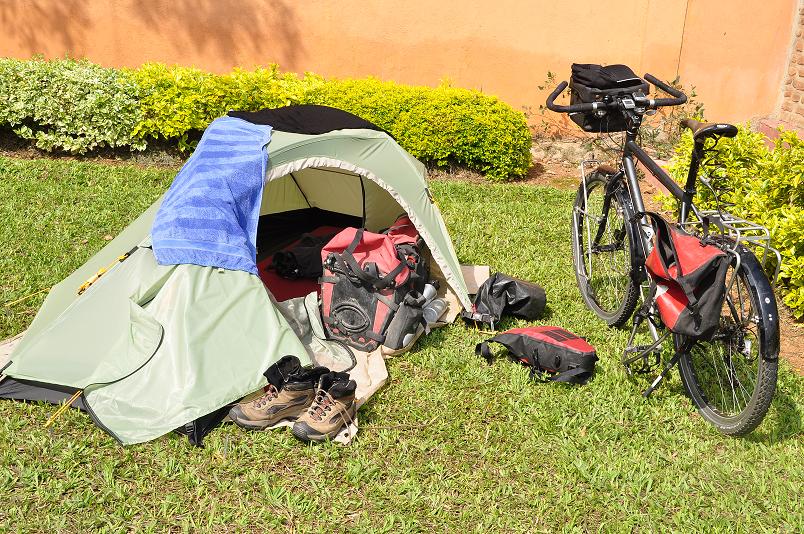
But then I wanted something lighter. For my tour through Rwanda and Uganda, I bought the Wechsel Pathfinder, a 1-person UL tent weighing 1.9 kg (which was light at the time), freestanding and quick to pitch. A great tent, which I still have.
For my cycle tour in Iceland, Georgia and on the Careterra Austral in Chile and Argentina, however, I wanted a 2-person tent again, also to have more space and protection in bad weather. That’s why I bought the Exped Venus II Extreme.

I still have it and use it when I’m travelling with one of my children. The almost 3kg weight and the rather bulky pack size no longer met my requirements.
The Big Agnes Copper Spur HV UL 1 Bikepack
In the end I chose the Copper Spur, which I think was also due to the price Globetrotter was offering at the time. In any case, the steeper walls (more space and less chance of condensation), the room height of almost a metre and the bikepack version of the tent with shorter poles were also factors in my decision.
At the time, there were a number of interesting tents to consider: the MSR Hubba NX, the Big Agnes Fly Creek HV UL 1 and the Big Agnes Copper Spur HV UL 1 Bikepack.

In the end I chose the Copper Spur, which I think was also due to the price Globetrotter was offering at the time. In any case, the steeper walls (more space and less chance of condensation), the room height of almost one metre and the bikepack version of the tent with shorter poles were also factors in my decision.
Today I would probably look at the Big Agnes Fly Creek HV UL 1 Bikepack or the UL Duplex tent from Zpacks or the MSR Freelite 1.
The facts
Dimensions: 224cm length x 97cm width (head/71cm foot) x 97cm height head area
Total weight: 1,186g + 125g packsacks tent and poles (self-weighed)
Weight of poles: 383g (self-weighed)
Weight of pegs: 115g including repair sleeve (self-weighed)
Water column outer tent: 1,200mm
Water column floor: 1,200mm
Material flysheet: 100% nylon (ripstop); SI/PU-coated
Inner tent material: 100% nylon (ripstop); DWR-impregnated
Floor material: 100% nylon (ripstop); PU-coated
Pole material: Aluminium DAC Featherlight NFL
The setup
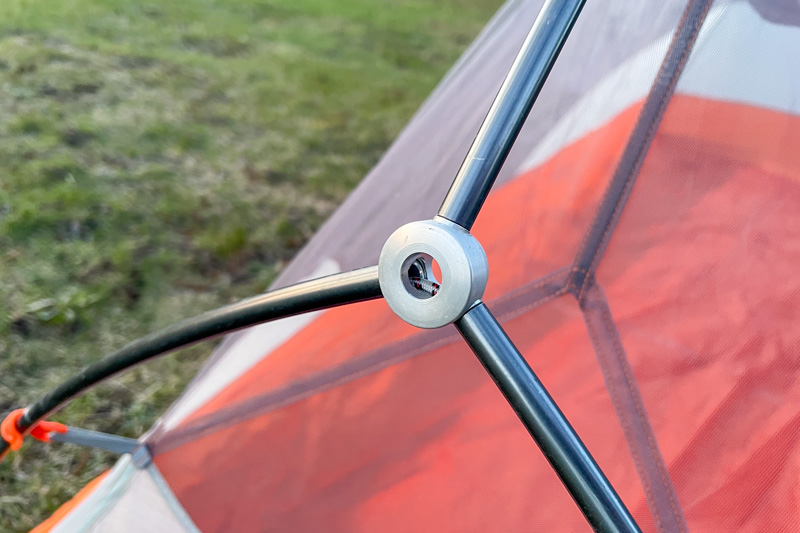
The inner and outer tents of the Copper Spur are separate from each other. The inner tent is pitched first. The poles are put together for this. It consists of two “intersections” which are connected by elements. This creates a kind of spider.

These elements are kept short, which is one of the reasons why the tent is called a “bikepack”. Normally, tent poles are always long and do not fit between the handlebars or in the rear saddlebag. Thanks to the shorter poles, the Copper Spur can be compressed so that it also fits narrow handlebars or short saddlebags.

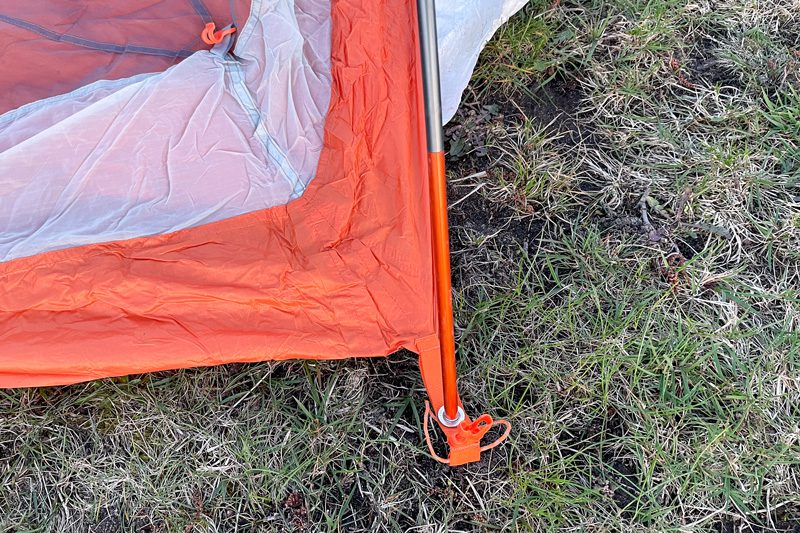
Back to the assembly: once assembled, the four ends of the pole spider are connected to the respective eyelets. The tent is wider in the head area and the pole eyelets are grey. In the foot area, the tent is narrower and the pole eyelets are orange. This makes orientation easier. Once inserted, the poles are positioned above the inner tent.

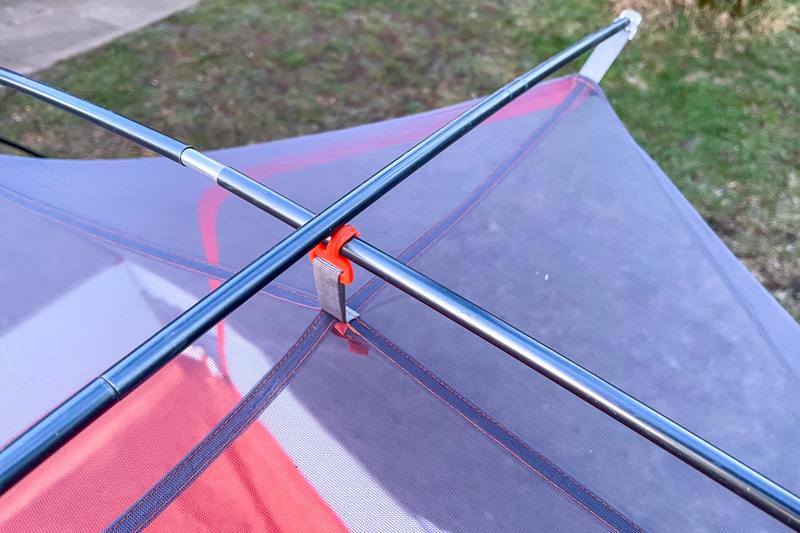
This is now simply clicked onto the poles using plastic clips.
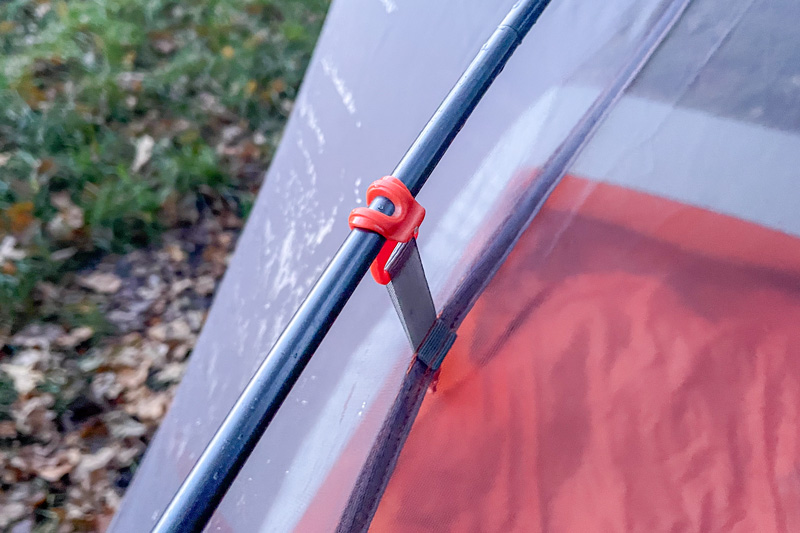
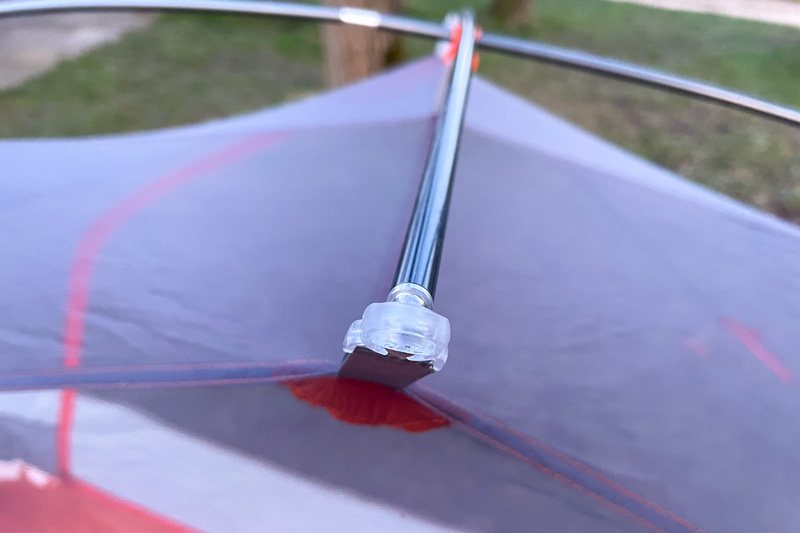
The short separate pole is then used. It is attached across the top in the head area, rests on one of the clamps and is clicked into a transparent holder on both sides.
Done and the inner tent is up. If it is particularly warm, this is enough and you can go into the tent. The inner tent is great as mosquito protection and also lets in enough air.
However, if you want to pitch the tent completely, put the cover tent over it. Look for the door opening and fix the flysheet at the corners with click fasteners. The colours are also helpful for orientation: the grey click fasteners are used in the head area and the orange ones in the foot area.

At the top, you must first insert the crossbar into the corresponding tabs on the flysheet. This is sometimes fiddly when it’s cold, but generally works well.
You can then tension the flysheet using the corners and the straps available there. Then I put the pegs in and do the rest of the tensioning.
I can also decide which side of the door should open. I’ve never paid much attention to this. But when I looked through the pictures, I realised that I sometimes chose one side and sometimes the other. The tensioning is centred at the lower end of the zip. This runs down the centre of the side wall of the tent and has two loops at the bottom through which the peg passes. And depending on which one you choose, one side or the other opens. But I don’t think Big Agnes intended it that way and I just always do it that way.
There are a total of 10 pegging points and in the end the tent is not only sufficiently ventilated, but also storm-proof if required. To be honest, the pegs supplied are pretty good. They are very light in comparison, work well even on firmer ground and tension well.
Speaking of the scope of delivery: the tent comes in two pack sacks, one for the inner and outer tent and one for the poles. Both can be connected together in the bikepack version and the packsack is designed so that it can be hung on the handlebars.
Unfortunately, the pack sack is too heavy (for me), which is why I sorted it out right at the start and pack my tent differently, in lighter pack sacks or bags. Incidentally, I always put the tent in my saddle bag and put it in a waterproof bag or sack so that it doesn’t get other things wet when it gets wet.

Taking it down is just as quick as putting it up. The tent is rolled up, but it can also be stuffed. And it is very compact when packed.
I don’t use a footprint, but sometimes I put some Tyvek foil under it, which I bought from Extremtextil as additional protection for the tent floor against stones and for my sleeping mat when bivouacking. It is very light and weighs less than 80g (or even less) with a width of 70cm and a length of approx. 2 metres.
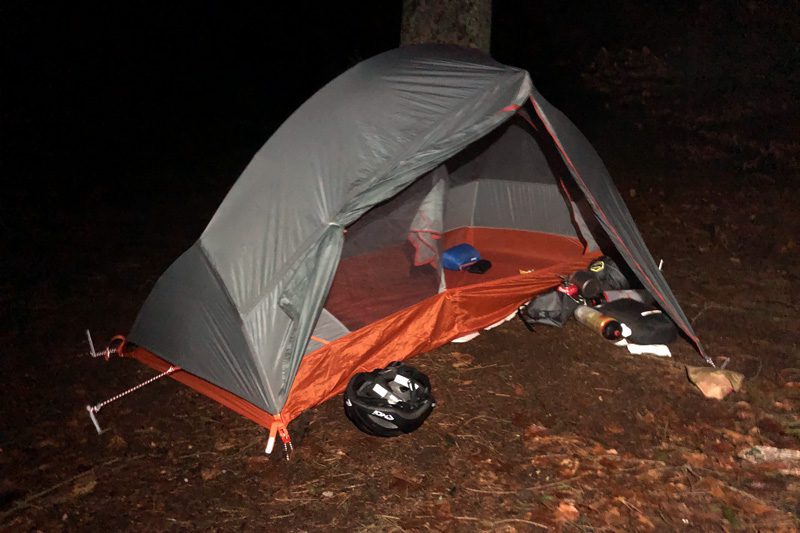
The spaciousness
The Copper Spur 1-person tent has a sufficiently large vestibule in which all my bags and helmet normally fit. The Bikepack version actually offers the option of attaching the helmet to the side, but I never do that anyway.
What bothers me, however, is that I can’t fix the door on the flysheet properly. I can roll it up and then secure it with loops. But they always open again. It doesn’t really annoy me, but it is sometimes a nuisance. However, Big Agnes seems to have solved this differently in the newer version. The door has a completely different design and has two zips. This allows you to open more door and then roll it upwards and secure it with loops.
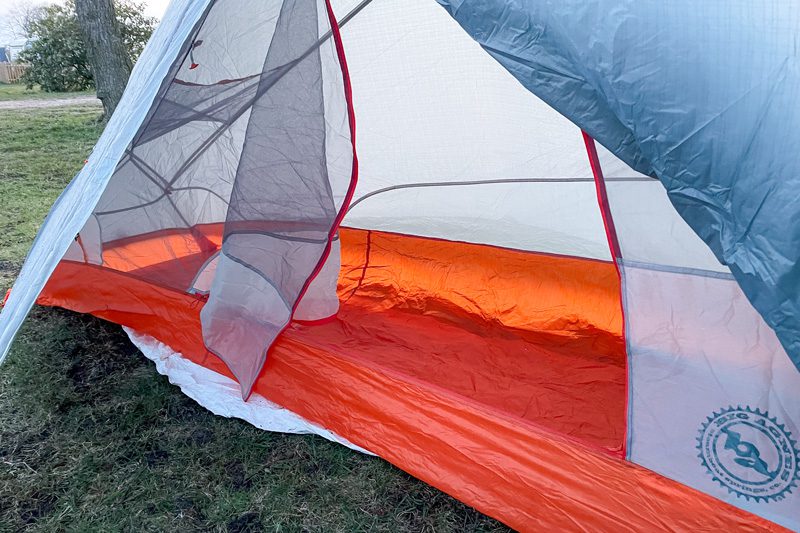
Inside, the Copper Spur HV UL1 offers enough space for my sleeping mat and sleeping bag. I can also put clothes and things next to me. The tent is comfortably wide in the head area and I have enough space for electronics, food and clothes. In the foot area, I have a mesh pocket at the top where I usually put my clothes. The newer version of the tent has these pockets at the bottom as well as the top. Very practical.
Next to the door is a small mesh pocket on the inside, where I usually stow the pack sacks for the sleeping mat, sleeping bag and pillow. But electronics and my wallet also go in there.

I have more than enough space inside with my 1.84m body length and approx. 70cm width and it is very comfortable. And very tall people should take a look at the tent, because Tobias, who is 1.95 metres tall, had plenty of room in the tent, which is mainly due to the steep walls that prevent the sleeping bag and person from coming into too much contact with the mesh of the inner tent.

In addition to the fact that the tent stands alone, the seat height was a deciding factor for me. It’s 97 cm high, which means I can get dressed relatively comfortably in bad weather, pack my things and get everything ready, and then go outside fully clothed and with my bags packed.
Of course, we also have to talk about condensation here: the tent has a ventilation flap in the head area. And even so, enough air gets in through the slightly raised sides. However, it is not uncomfortable and the tent actually keeps you quite warm, especially in winter. I’ve also used it when it was more than minus 10 degrees and windy and it was ok. However, it is a 2-season tent with potential for 3-season use and is not intended for winter use with lots of snow.
Of course, condensation also occurs here and from time to time the tent was damp and the flysheet wet. However, compared to my other tents and tent experiences, this is still ok with the Copper Spur. I have no complaints. And because I read this question from time to time: I simply pack up my wet tent in the morning and put it up again in the evening. There. I let it dry a bit – which it does – and then go inside. If the inner tent is too wet and the ground doesn’t dry out (because it’s snowing outside, for example), I wipe it dry briefly with my towel or shirt.
The Big Agnes Copper in practice
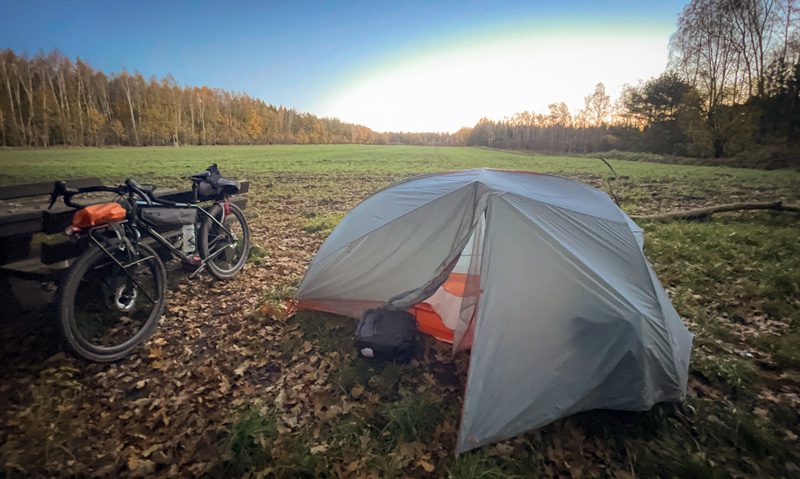
As you can see from the previous remarks, the Big Agnes Copper Spur HV UL 1 Bikepack is very quick and easy to set up. The weight of approx. 1,200g is completely acceptable for me. In return, it is a freestanding tent that is storm-proof and offers plenty of space.
I particularly like the seat height of almost one metre. This means that I can be really comfortable in this tent and pack everything away in an emergency. I also like the small and, at 26 cm, very short poles. It fits perfectly in my saddlebags and of course between my handlebars. It’s even short enough to be able to attach the tent to the fork, for example.
And for those who are now looking anxiously at the 1,200mm water column that Big Agnes claims for it, I can assure you that both the floor and the tent skin can withstand a lot of thunderstorms, water and storms and the tent is not leaking in my case.
There is also a significant difference between German/European and US-American water column specifications. I recommend the very informative article from the Trekking Light Store, which explains this very well:
“There are quite serious differences between the USA and Europe in particular. While the DIN standard EN 20811:1992 applies in Europe, the AATCC standard 127 applies in the U.S. The European standard is tested on brand new tents, whereas in the U.S. it is tested on tents that are five years old. This explains the usually lower WS values of our American manufacturers such as Big Agnes, Lightheart Gear, MSR or Six Moon Designs. A five-year-old tent no longer has the WS that a new tent has. After all, it has been exposed to UV rays, the elements and camping use.
That means in other words:
A 3000 mm water column for an American tent is more than the same value for a European tent. But also: A lower water column value for American tents does not automatically mean that the tent is worse than a European tent. Incidentally, a fabric for high demands is considered waterproof from a water column value of 1300 mm.”
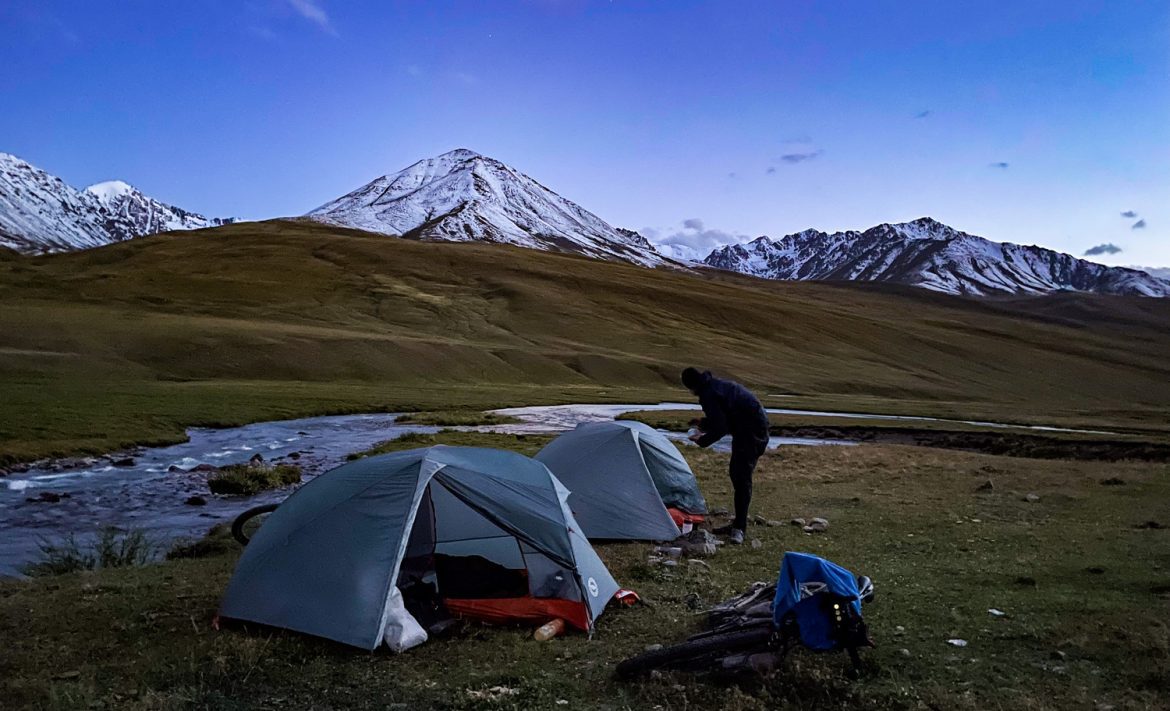
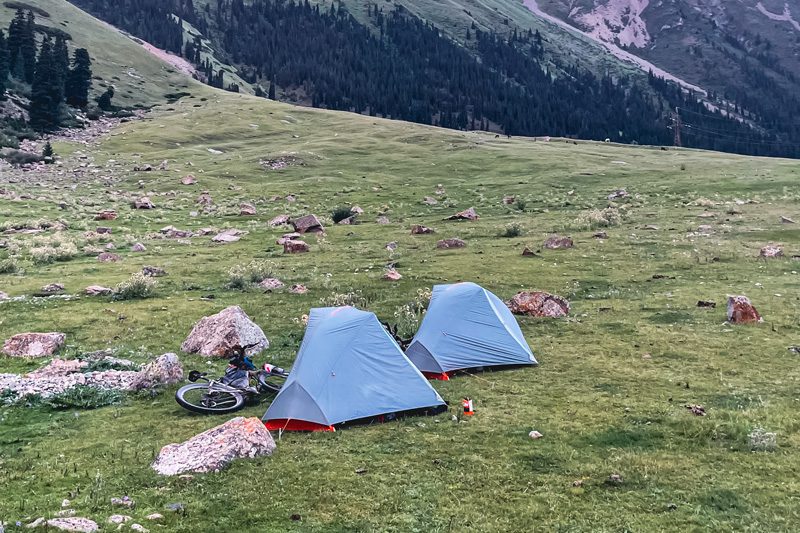
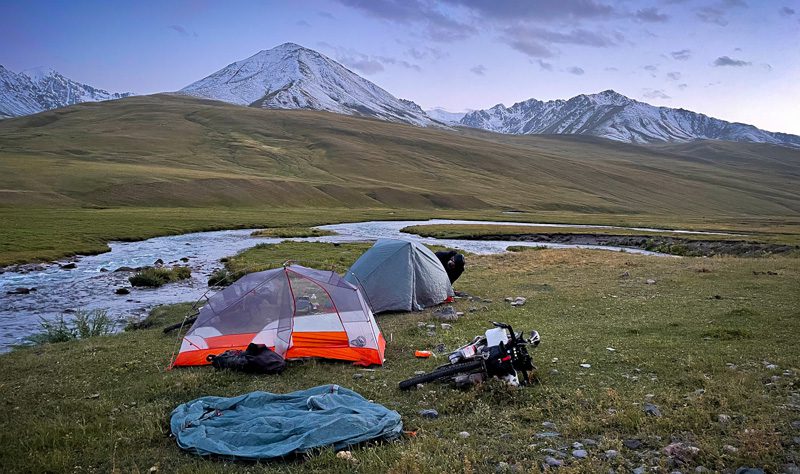
I had the Copper Spur with me during the Silk Road Mountain Race, where it had to withstand large temperature differences. The poles often froze together and I had to pack the tent with a frozen outer skin. There were no problems in the rain either and the tent was also unaffected by sleet and snow storms.
The Big Agnes is now my tent for all occasions. I use it when I want more comfort or when the climatic conditions require it. In the warmer months I tend to use the bivy sack, otherwise the tent.
One point of criticism I once read concerned the zip. It is said to be unable to cope with dirt and soiling in the long term. So far I can’t confirm this, but my tent hasn’t really got dirty either. And perhaps the zips on the new version have been improved in this respect.
I’ve been using it for 3 years now and I’m still impressed. However, it’s not cheap and the new version is currently available for around 600 euros. But I also bought it so that it would accompany me on bike tours later, after my “race phase”.
Further tent information
Of course, there are also many other tents. I put together a selection a few years ago when I was looking for a new tent. Maybe this will help you:
I will certainly update this post from time to time.
My survey “Everything for cycle touring and bikepacking” from this year (2023) also offers further orientation. Here I also specifically asked for experiences and recommendations for tents:
Dome, 2-person and from MSR
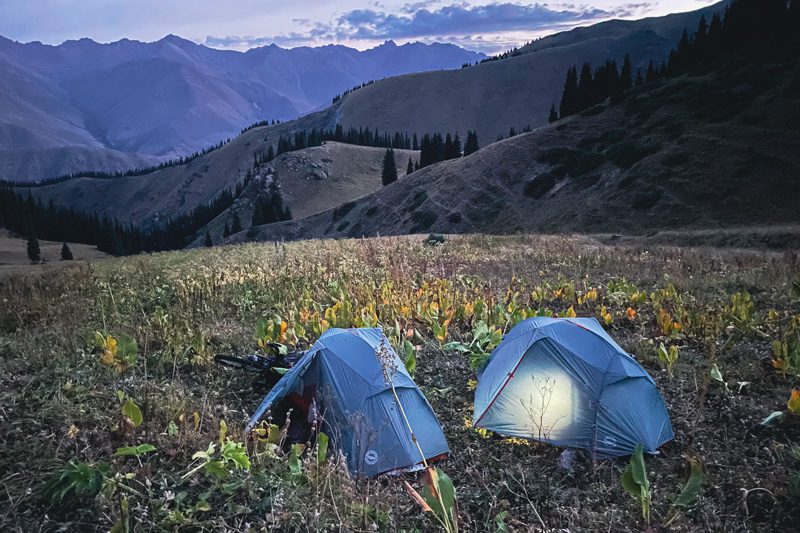
Spending the night outdoors and being more independent is one of the things that makes our sport so great. The majority favour a tent, but the bivy sack and tarp also have their fans.
Personally, I use a bivy sack if I know I can camp somewhere or find a shelter. Or the weight plays a bigger role. I take a tent when I need protection and comfort regardless of the weather.
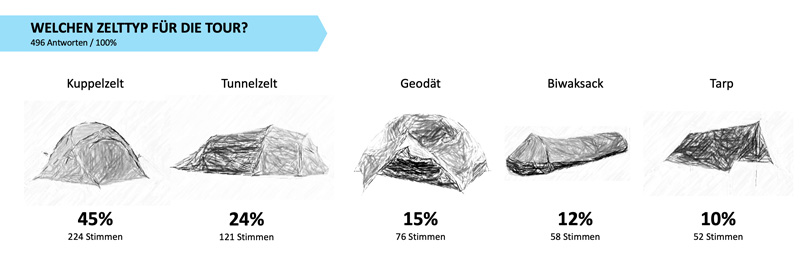
In the survey, dome tents received the most votes, followed by tunnel and geodesic tents.
To know: The difference between dome and geodesic tents is that dome tents have a simpler construction due to two crossed poles and may be lighter in weight. Geodesic tents offer greater stability and better wind resistance thanks to several crossed poles or a cross pole. However, this can make them heavier and they may require more effort to set up.
12% prefer the bivouac sack and 10% the lightweight tarp for protection.

When it comes to tent size, the majority choose 2-person tents, which may have something to do with the fact that they offer more space for one person and therefore more comfort, especially on longer trips. I also used to travel with a 2-person tent so that I could comfortably take my luggage into the tent. In the meantime, however, I have switched to 1-person tents, as 33% of respondents recommend.

When asked about the tent brand, 20% recommend MSR, followed by Decathlon and Hilleberg. Two years ago, Decathlon was at the bottom of the list and is now in the top 3, while Naturehike has also worked its way into the top 5.

And so three out of six specific model recommendations are from MSR: the Hubba Hubba NX with 13% of the votes, followed by the Hubba and the Elixir. Decathlon has made a place for itself in the heart of the bikepacking community with the Trek 900. Likewise Naturehike, which offers a good and lightweight tent with the Cloud Up.
Do you have any further questions about the Big Agnes Copper Spur?
Then please leave them in the comments.